
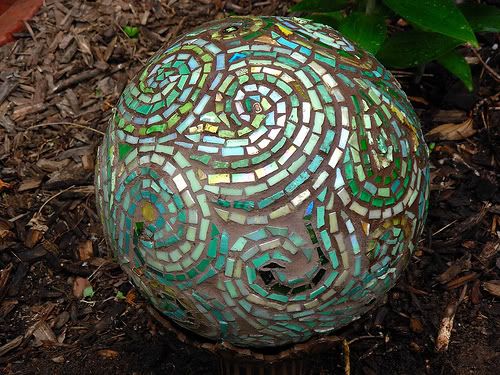
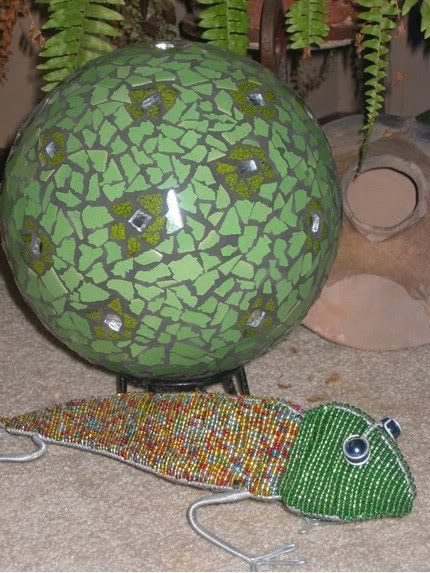
Bowling Ball Gazing Ball
Materials and Tools:
For preliminary sketch and color palette:
sketchpad
pencil
all-purpose white glue
sampling of small pieces of glass
To cut stained glass:
sheets of stained glass
cardboard mat
T-square
glass cutting tool
glass cutting oil
glass nippers
For ball:
1 small heavy brass bowl
1 6- to 12-inch ball (plastic, Christmas ornament, bowling ball, stainless steel ball, etc.)
sandpaper (or small electric sander)
Sharpie marker
stained glass cut into 5/8" squares
vitreous glass tiles
small pieces of mirror
multi-drawer storage box
large plastic bowl lined with cheesecloth
wheeled glass nippers
safety goggles
waterproof silicone adhesive
dental pick and tweezers
black unhanded grout
disposable latex gloves
large plastic container
stir stick
small funnel
plastic hair dye applicator
sponges
nylon or soft wire brush
grout sealer
1 gazing ball stand
1. Make a preliminary sketch of the design on a piece of paper.
2. Wearing safety glasses, cut the stained glass into 5/8-inch squares and then into smaller pieces and store them in a small multi-drawer storage bin (usually used for nuts and bolts) (figure A). Cut the vitreous tiles into quarters over a large bowl lined with cheesecloth to catch shards. Cut the mirror into small pieces. Each piece will require more cutting as the mosaic is made.
3. Sand the surface of the ball (plastic Christmas ornament) for better adhesion. Make a rough outline of the pattern on the ball using a Sharpie. Place the ball in a small heavy bowl to use as a stand while working on the mosaic.
4. Start assembling the ball by choosing the most prominent part of the design. Glue the glass pieces to the ball using waterproof silicone adhesive. If necessary, re-cut the glass pieces to fit. Leave a 1/8-inch gap surrounding all sides of every piece.
5. After finishing the flowers and patterns, start filling the background with field tiles. It is important to stagger the rows. You do not want the background to be too symmetrical. Always leave room for grout to surround each piece. Let dry.
6. When dry, check the mosaic pieces for excess adhesive. Use dental tools and tweezers to carefully remove pieces.
7. Mix the grout per the manufacturer's instructions. If you cannot find pre-colored black, a colorant can be added. Once the grout has been mixed, funnel it into a plastic hair dye applicator.
8. Wear latex gloves to apply the grout into the spaces between the mosaic pieces on the ball in small strips, packing it in by hand. Let it set up for about a half hour.
9. With a damp sponge wipe off excess grout from the glass. Check for low spots and sharp edges. Using your leftover grout, fill in the imperfections. Let dry again. Gently scrub the mosaic until it is completely clean.
10. After the grout has cured for four days, apply a commercial grout or masonry sealer. Let dry.
11. Place the ball on a gazing ball stand.


0 comments:
Post a Comment