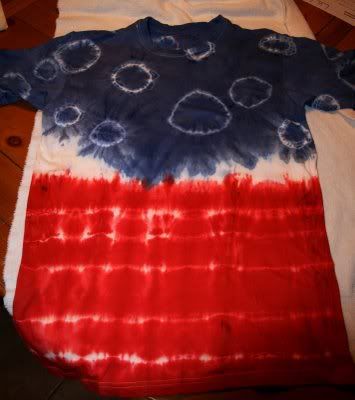
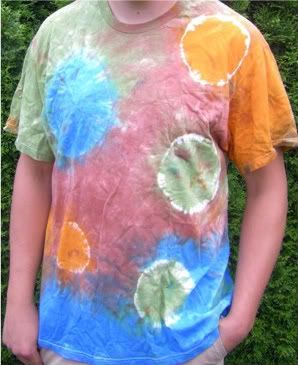
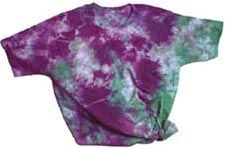
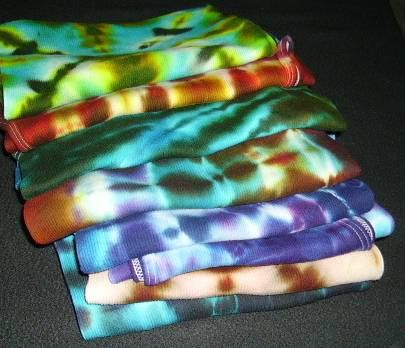
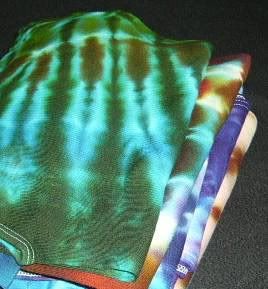
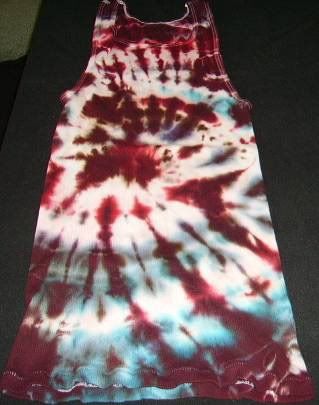
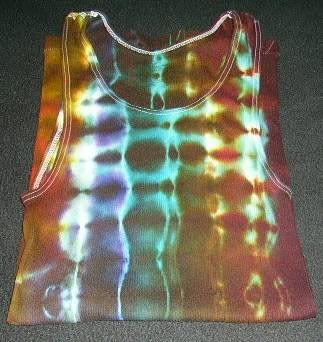
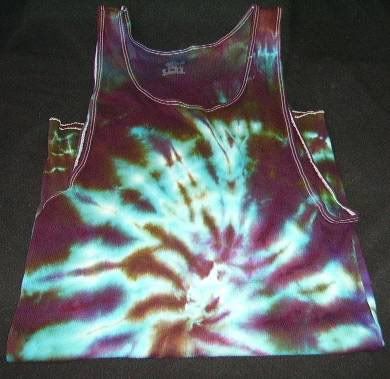
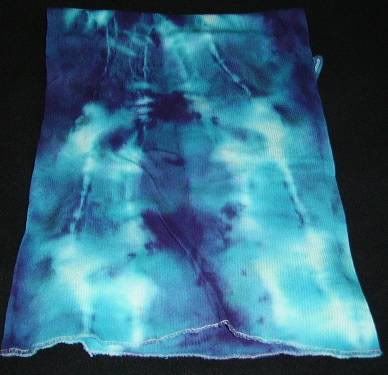
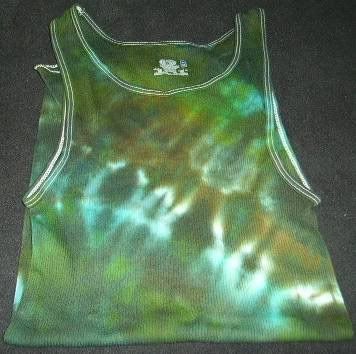
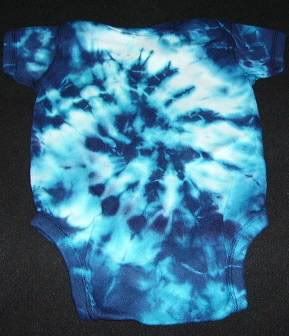
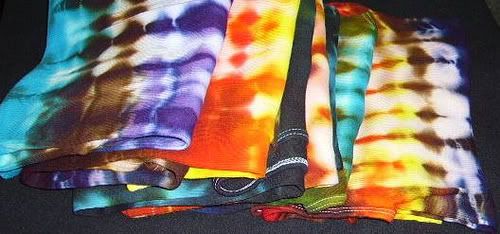
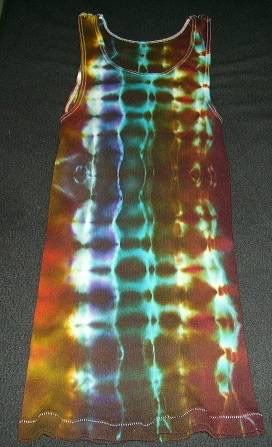
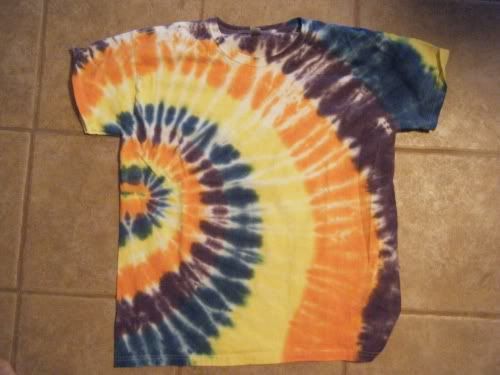
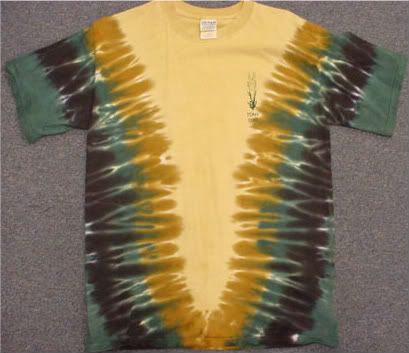
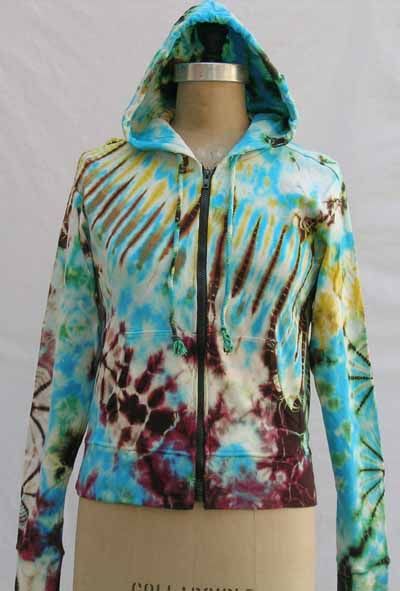
Friday, June 26, 2009

How To Tie Dye

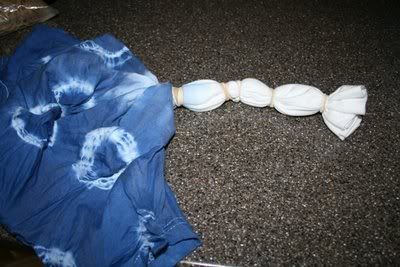
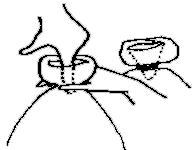
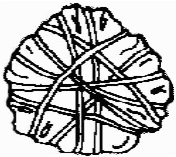
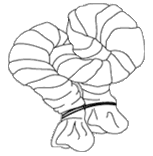
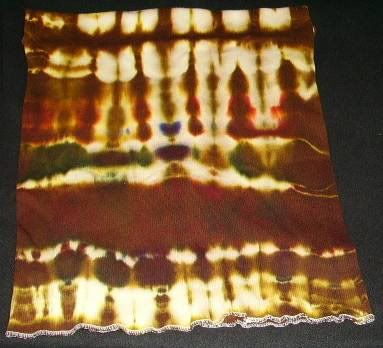
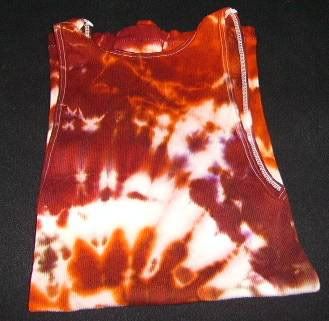
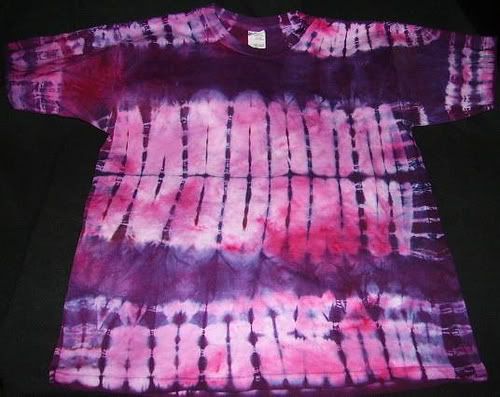
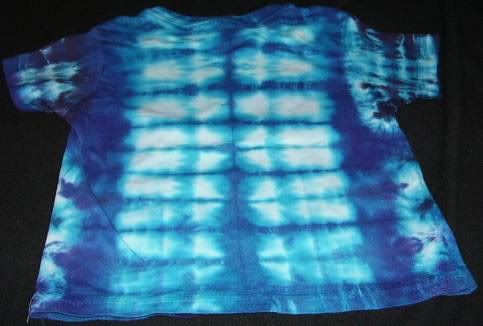
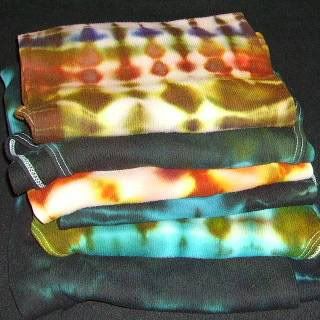
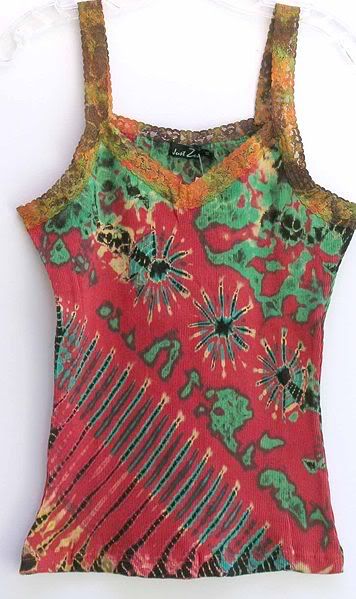
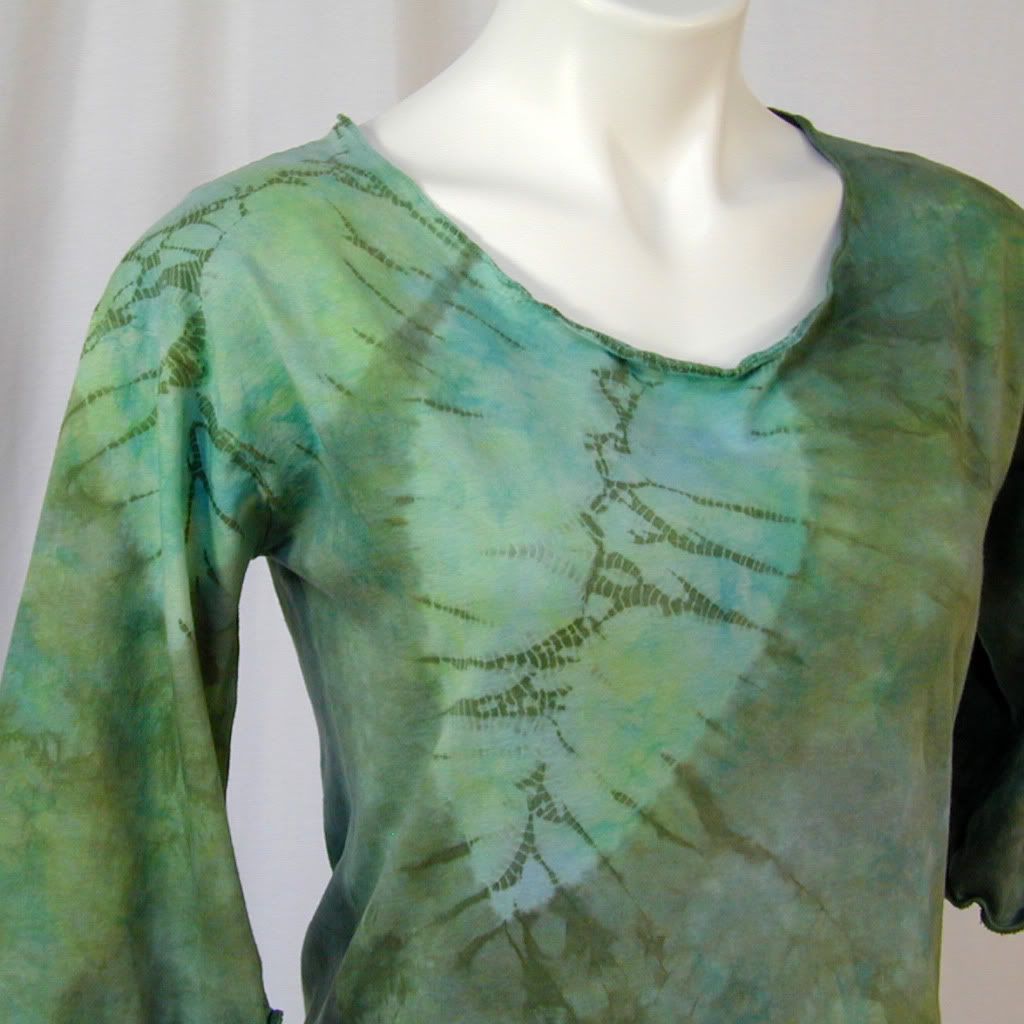
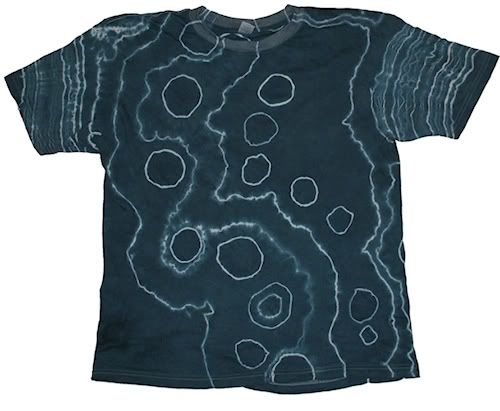
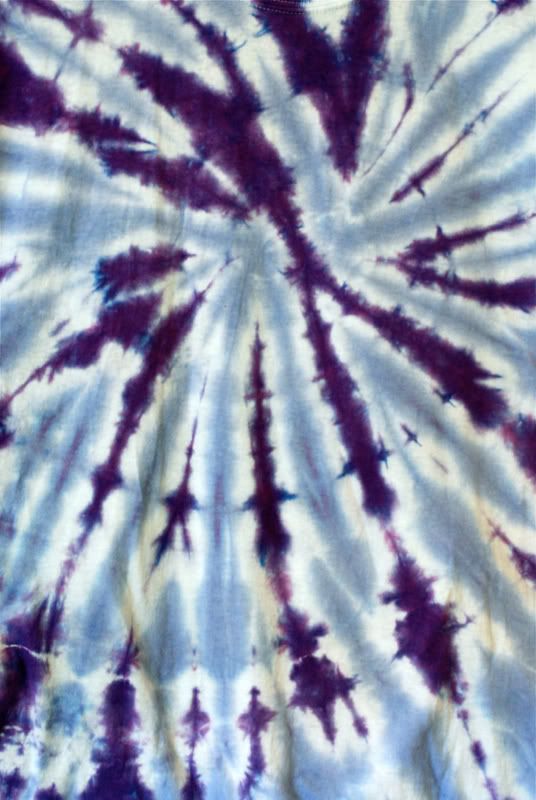
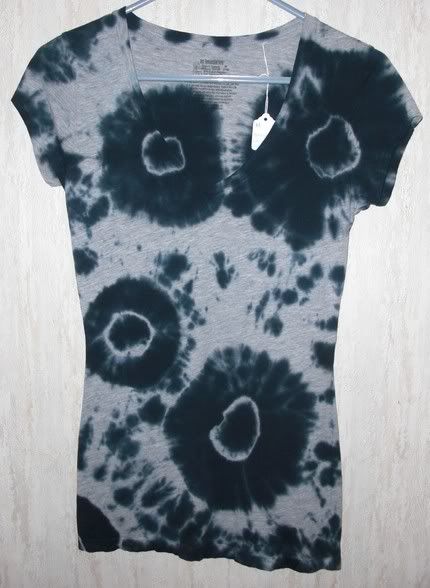
1. Fold and/or tie the fabric into the desired patterns. The designs will be more defined if you wet the shirt and squeeze or spin out excess water before folding.

2. Wear your dust mask and dissolve 1 cup (8 ounces) of soda ash fixer per gallon of warm water. Soak the tied garments about 5-15 minutes (until saturated). Reuse solution until gone. Squeeze out excess so garment is just damp, not dripping.

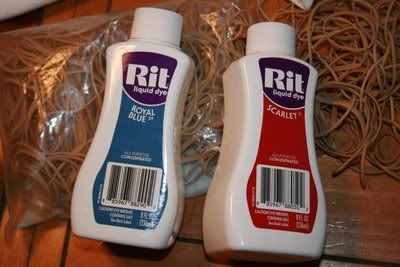
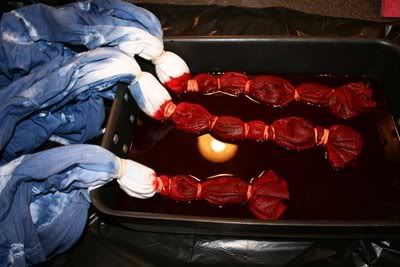
3. Using your dust mask and gloves, combine water with all chemicals except dye. Add liquid to dye gradually, pasting up to avoid lumps. Apply dye with squeeze bottles, paint brushes, sponges, etc., as many colors as you want. Easiest to use a funnel to pour dissolved dye into squeeze bottles.

Dye Formula:

8 oz. cup of warm water
(not hot, body temperature)

2 to 8 teaspoons of Procion dye
Some colors are noted with * on
the Procion dye page
(Colors with no * = 2 teaspoons)
(One * = 4 teaspoons)
(Two ** = 8 teaspoons)

1 tablespoon Urea
(dissolve in hot water first).

1/4 teaspoon water softener
(if needed)

Sodium Alginate Thickener
(A little to slow spreading, and control color, if desired.)


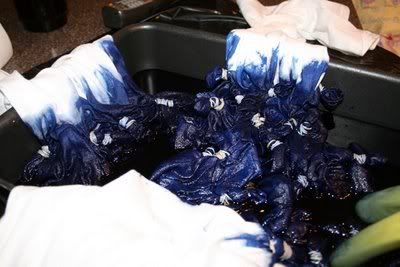
4. Put fabric (still tied) in a plastic bag (the idea is to keep it wet and chemically active - any method of keeping it wet is O.K.) and let sit for at least 4 hours but preferably 24 hours to "cure". Shorter times work better in summer, and longer times are needed when it is cold.

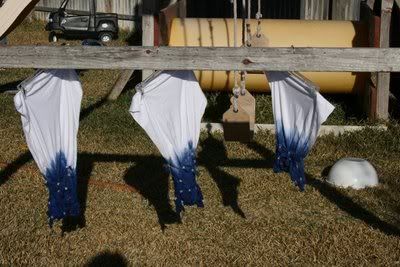
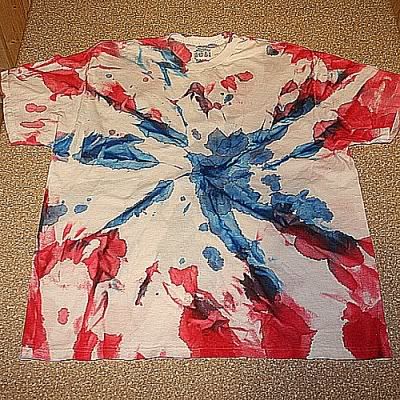
5. Remove from bag and while still tied, rinse off the excess dye under cold running water (faucet, hose or shower), then rinse in warmer water while you untie and after garments are untied, until water runs fairly clear. Have your washing machine pre-filled with hot water with Synthrapol or professional textile detergent and throw in the clothing as soon as it is rinsed, running it through a full cycle.

Variations & Helpful Hints:
Dye shirt a solid color first using Tub Dyeing Method, then tie dye using above method.

After step 4, untie and re-tie in contrasting pattern.

After tie dyeing item, re-tie and use Discharge paste to bleach out a contrasting pattern.

Sprinkle pure Procion powder onto tied and pre-soaked item for different effect (super intense color. Use a salt shaker with lots of salt and some dye for a lighter application)

Put a small amount of sodium alginate thickener into dye mixture (step 3) to slow down the rate that the dye spreads and to create sharper edges.

In step 4 any method keeping the fabric wet is OK, needn't be a plastic bag - cover many with plastic drop cloth, wrap in plastic wrap, etc. The warmer the temperature where you lay out your tie-dyes to cure, the quicker the chemical reaction.

Use water softener if you suspect you have "hard" water.

DON'T USE HOT WATER. The dyes work best in warm water (105 degrees F) except #25, which can be used slightly warmer. #250 does like hot water and doesn't do well for tie-dye.

Urea helps dye to dissolve, so dissolve the Urea in water first. Add this water to the dye powder gradually and paste it up to avoid lumps. Undissolved dye makes "explosions" of color or "freckles", so if a color is difficult to dissolve, straining through some light fabric might be necessary. Coffee filters only work if the dye is really liquid. Otherwise, they filter out too much of the dye.

If you have trouble making a paste of the colors, a little calsolene oil can help because it breaks the surface tension.

Squirt bottles are mechanically mass produced and once in awhile we get some that leak. A couple of wraps of that very inexpensive (60¢) thin white stretchy plumber's tape, that is available at any hardware store, around the threads solves this problem perfectly. No tie-dyer should be without it.

Cover your work surfaces with old newspapers or folded paper towels to absorb extra dye. Wear old clothes. After applying dye to one side, flip garment over and repeat the process. Inject the tip of the squeeze bottle into the folds for best dye penetration and less white on the final product.

With this dye, there is always lots of "excess dye" to be washed out. Don't crowd your washing machine with too much tie dye or the water gets too muddy and so will your tie dyes. Delicate items like rayon and silk are better hand washed or should go into a mesh bag on a gentle cycle so the agitation doesn't shred them.


Explanation of the Chemical Processes Involved in Tie Dyeing:
Fiber reactive dyes attach permanently to cellulose fibers using a covalent (electron-sharing) bond. These molecules carry a "chromophore" which absorb varying spectra of the light, allowing only certain spectra to reflect.

Covalent bonding is one of the most basic and strongest types of chemical reactions. This reaction happens gradually over time depending on temperature and/or the Ph level of the surrounding environment.

The Soda Ash pre-soak raises the pH level of the garment or fabric to approximately 10.5. Raising the pH level of the solution that the fabric or garment is soaked in raises the level of negative hydrogen ions in the dyeing environment. The chemical bonding process uses these ions in the reaction. Pre-soaking in soda ash fixer solution is what allows the fiber reactive dyes to work at room temperature.

The reaction can also be aided with heat. Some tie dyers have had success with using baking soda and microwaving their dyed articles. Since baking soda is a weaker alkali than soda ash, it must be accompanied by heat. Some people who are "chemically sensitive" choose to use this method.

The dye is allowed to react in a desirable host environment for up to 24 hours. After this time, the bonding sites on the cellulose should be saturated with dye molecules. Excess dye molecules that have not bonded permanently are washed away using warm water rinse and a dye-carrying detergent like Synthrapol.

Thursday, June 25, 2009

Dyeing Fabric A Solid Color In A Tub (Garment Dyeing)

1/2 lb. Dry Fabric:
1 1/2 gallons of water
1 1/2 cups non-iodized salt
1/6 cup soda ash fixer
1 teaspoon calsolene oil


1 lb. Dry Fabric:
3 gallons of water
3 cups non-iodized salt
1/3 cup soda ash fixer
2 teaspoon calsolene oil


8 lb. Machine Load:
20 gallons of water
20 cups non-iodized salt
2 1/2 cups soda ash fixer
2 T calsolene oil

Dharma Trading Co.'s Dye Yields Estimator

Fabrics that are treated with permanent press, or water proofing, etc., are not recommended.

Pre-wash fabric in hot water to remove any dirt, grease and starch (use Synthrapol for routine dirt and grease removal; enzyme detergents to remove starch).

Dissolve the non-iodized salt completely in the required amount of lukewarm (about 105 degrees F) tap water. Add calsolene oil (optional; breaks surface tension of the water for more even, less streaky results).

Dissolve the fiber reactive dye completely by pasting it up with some warm water, then adding about a cup of warm water to make a well dissolved slurry, then add to the tub and stir to mix evenly. Some colors can be harder to dissolve than others, especially reds and mixes with red in them, like purples, browns, etc., also some of the darker yellows.

For better results, use warm urea water (approximately 1 tablespoon urea dissolved in 1 cup warm water) to paste up your dye, then add the extra water as above. Put some thin fabric like 5 or 8mm Habotai silk or something comparable in a funnel over your dye bath and filter your thinned and dissolved dye. This really doesn't take long, and is worth it to prevent a whole load of clothes or fabric from having un-dissolved dye "freckles" on it. Make sure your "slurry" is thin enough before filtering or you can end up with too much dye residue in the filter and not in your dyebath.

Add fabric and stir constantly (or at least every 3-4 minutes) for 20 minutes. In a washing machine, set it to agitate. Don't let it drain out - most machines you have to keep setting back to the beginning. Use a timer so you don't lose track - nothing worse than losing your dye down the drain before you're done. The washing machine is recommended for large loads, or when you are too busy to stir frequently enough, or for the most even results.

Dissolve soda ash in warm water and add slowly over 15 minutes to dye bath, while stirring. Don't pour directly onto the fabric - move it aside. [Concentrated soda ash solution touching the fabric leaves darker splotches.] In the washing machine, turn it off, use something like a big stick to move the fabric over to one side while adding the soda ash. Mix the soda ash solution into the water before stirring the fabric around or turning the machine back on. Stir frequently or set machine to agitate again; 30 minutes for light colors, 1 hour for deep colors.

Remove and rinse out the excess dye. With a washing machine, put it through a rinse cycle.

Wash in hot water using Synthrapol to finish washing out the excess dye. With some of the darker colors like black or reds, a second wash may be necessary. Additionally, using Milsoft (a concentrated, professional fabric softener) according to directions will restore a luxurious softness to fabrics that have been dyed.

For medium shades of most colors, add 1 tablespoon of dye per 1 lb. of fabric (3 gallons of water), or 1/2 cup of dye per 8 lb. washing machine load (20 gallons).

Colors marked with * on the color card require double those amounts, and those marked with ** require 4X those amounts.

For lighter shades, reduce the amount of dye, and for even deeper shades, increase the dye.

The amount of non-iodized salt and soda ash are a function of the amount of water used. For each lb. of dry fabric you will need about 3 gallons of warm water. The water must cover the fabric with enough room for thorough, tangle free stirring; otherwise you get uneven dyeing and streaks. For each gallon of water use 1 cup of non-iodized salt and 1/6 cup soda ash. For the Blacks, use 2 times the amount of non-iodized salt.

About Black Dyes

True black is the hardest color to get with fiber reactive dyes.

Procion has four black dyes, each with a different color cast. Three of them work well in direct application methods like tie-dye and batik where the temperatures used are cooler but the fabric is kept moist long enough for the dye to develop full depth.

All four can be used for tub-dyeing (for dyeing a solid color shade), with these differences:

#39 Black - Tub dye with a green cast and edges are blue in tie dye.
#44 Better Black - Tub dye with a purple-blue cast and edges are blue in tie-dye.
#250 Jet Black - This is the most concentrated of all the blacks and gives the deepest black when used in tub dyeing (vat, bucket, washing machine, etc.) with hot tap water (130-150 degrees F). It can be olive green or gray when used for direct application methods (tie dye, batik, painting, etc) unless kept very warm; edges are green in tie-dye.
#300 New Black - Tub dye with a very blue cast; edges are blue/pink in tie-dye.

Since black is a tough color to get, you have to use a lot of dye and in tub dyeing, you will need to double the salt. One recipe for "The Blackest Black" for tie dye and batik is a 50-50 combination of #44 and #300.

In tub dyeing, to make the blacks even darker (and the washout less), soak the finished dyed garment in Dharma Dye Fixative or Retayne. [This also works for darker purples, browns, blues etc.]

When the dyebath is complete, drain but don't rinse the fabric. Fill the tub with hot water and the fixative (1 ounce per lb. of fabric; 8 ounces for a full washing machine load). Soak, agitating occasionally, for 30 minutes, then rinse and wash in hot water and Synthrapol, as usual. For best results, wash black items twice.

For re-blacking black clothes and jeans that have faded:
Less dye is required, depending on how badly faded (4- to 8-ounces per machine load, instead of a pound). To make it worthwhile, gather up enough faded black stuff so you can just do a whole washing machine load (about 8 lbs. of fabric) and follow the basic tub dyeing directions.

Dissolving Fiber Reactive Dye Powder

"Pasting" the Dye (dye dissolving procedure recommended for all colors):

Always add liquid to powder, not powder to liquid.

Mash the powder with a sturdy spoon while adding the liquid very gradually.

Once it is a well-dissolved slurry it can then be added to the dye bath or the rest of the water can be added (if it is for tie dye).

Fiber reactive dye powders (except for Jet Black #250) should always be dissolved in lukewarm water, not hot or cold. Test it as you would a baby bottle.

For hard to dissolve colors (reds, pastels):
Use urea water* instead of plain water to paste up the dye. [*Dissolve some urea in hot water, then let it cool to lukewarm.]

Also, a couple of drops of calsolene oil will help break the surface tension of the water.

Last, best guarantee against "freckle" problems (the spots that form on fabric when dye powder doesn't completely dissolve):
Strain the dye (after it has dissolved and been mixed with more water) through thin pieces of silk (5 or 8mm Habotai works well) or fine nylon stockings placed in a funnel or a strainer.

Dyebaths:
With hard to dissolve colors (reds, pastels), add the pre-dissolved dye to the bath, and mix well, before adding the salt. [Salt reduces solubility, so if you do happen to have tiny particles of undissolved dye, they stand a better chance of dissolving without salt.]

Sunday, June 21, 2009

Tie Dye American Flag T-Shirts


Read More...

Tuesday, June 16, 2009

How To Screenprint & Embellish (with LEDs & Sound)

a howling wolf t-shirt


link testing

Monday, June 15, 2009

How To Dart A T-Shirt

Sunday, June 14, 2009

How To Screenprint Using A Hoop

What is silkscreening?

Read More...

Saturday, June 13, 2009

The Dipping Process

Friday, June 12, 2009

Preparing The Dye For Dip Dyeing

Thursday, June 11, 2009

Tie-Dye Designs, Patterns, Colors


3-color or triple-dipped donut & rosettes


Simple Spiral (although dye goes down in circles)


Read More...

  © Blogger templates 'Neuronic' by Ourblogtemplates.com 2008

Back to TOP